

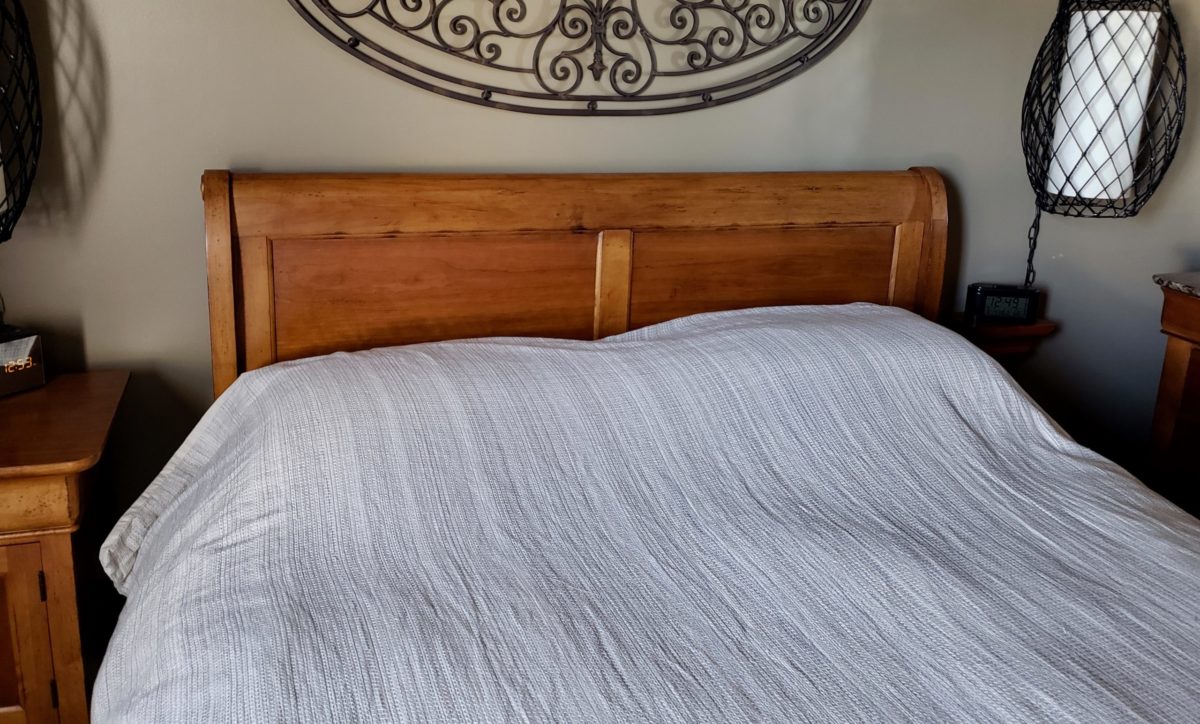
Let’s face it. Making the bed is probably not your favorite thing to do every day. After all, you’re just going to mess it up again in less than 24 hours. Why bother, right? It’s so easy to want to pass on bed making and yet, it should be an every day priority! More than perhaps any other messy space in your home, a sad, unmade bed just screams ugly. Sure, most people won’t see it. But, you will! And who wants to climb back into an ugly, unmade bed after a long, hard day?

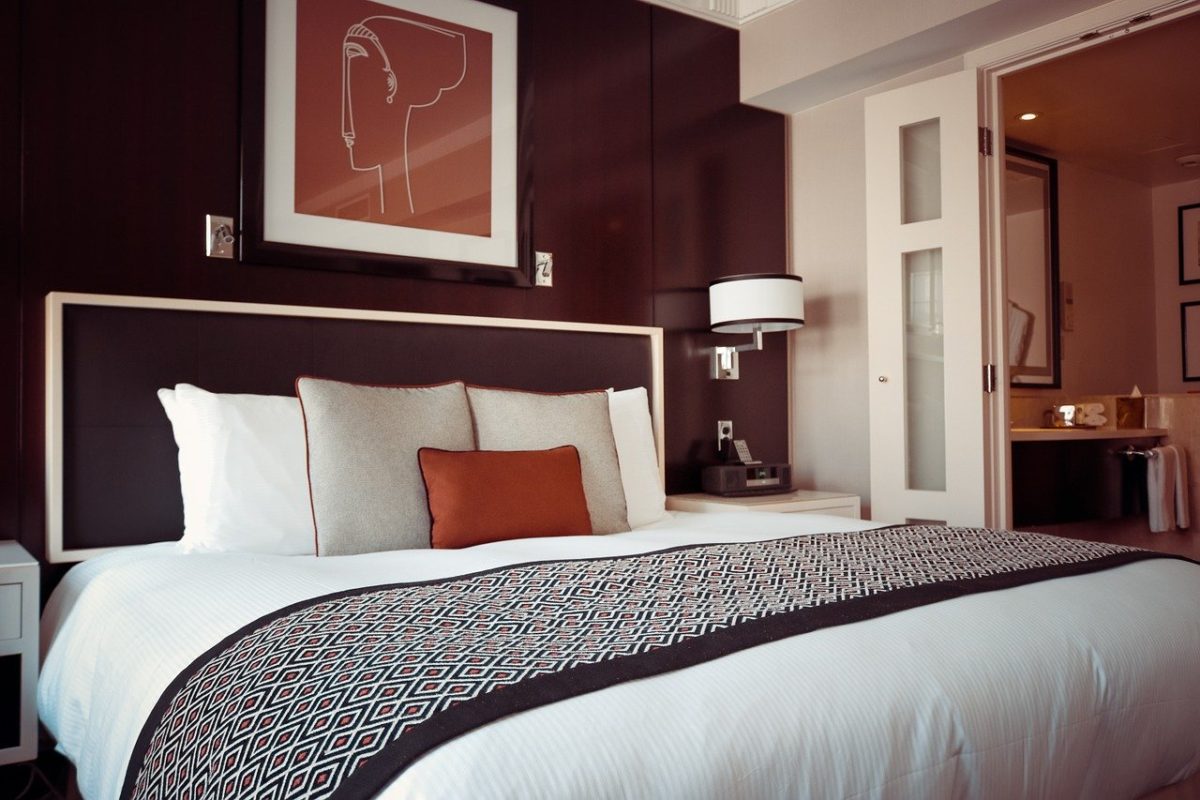
When choosing a hotel, most people are almost as picky about the beds as they are about the price and location. Why? Because who doesn’t love getting into a beautifully-made bed complete with freshly laundered and crinkle-free sheets. More than any other element in a hotel room, the bed is critically important. So, any respectable hotel or Airbnb worth its salt will make sure the beds are amazing even if the rest of the room could use some love.
Of course, bed making isn’t rocket science. But you’d be amazed how few people really seem to know how to make a bed properly. With that in mind and so you don’t have to be embarrassed by your own bed making skills (or lack thereof), here is a Step-By-Step guide to help you create a bed fit for royalty.
What You’ll Need:
- A bed! (vitally important)
- Mattress pad
- Sheet set (flat & fitted)
- Regular pillow shams (usually sold with or to match sheets)
- Blanket
- Duvet (& cover), Comforter or Quilt
- Decorative pillow shams
- Pillows (for sleeping)
- Decorative Pillows (Euro, throw, lumbar, accent etc… optional but important)
- Bed scarf or throw (optional)
First… Do yourself a favor. Don’t skimp on bedding! Your sheets don’t have to cost a fortune or be 1000 thread count. But, they do need to be as nice as you can afford even if you have to stretch the budget a little. You spend about 1/3rd of your life in bed (some more than others)! That’s a lot of time to be lying on cheap sheets. So, it’s worth the investment. Cheap sheets don’t last as long and only really soften up after a few hundred washes. That’s about the time you push your foot through and it’s time to replace them anyway!
More than just thread count (the higher the better), look for bedding made from 100% cotton. Natural fibers breathe better. Egyptian, Pima & Supima cotton are preferable. As strange as it sounds, bedding made from bamboo fiber is also surprisingly soft, luxurious and extremely durable. The key is to find some that feel good to you. Don’t just use your hands to feel them. Give ’em the old “cheeks” test (and not the ones in your pants unless you’re curious about the sheets in jail.)
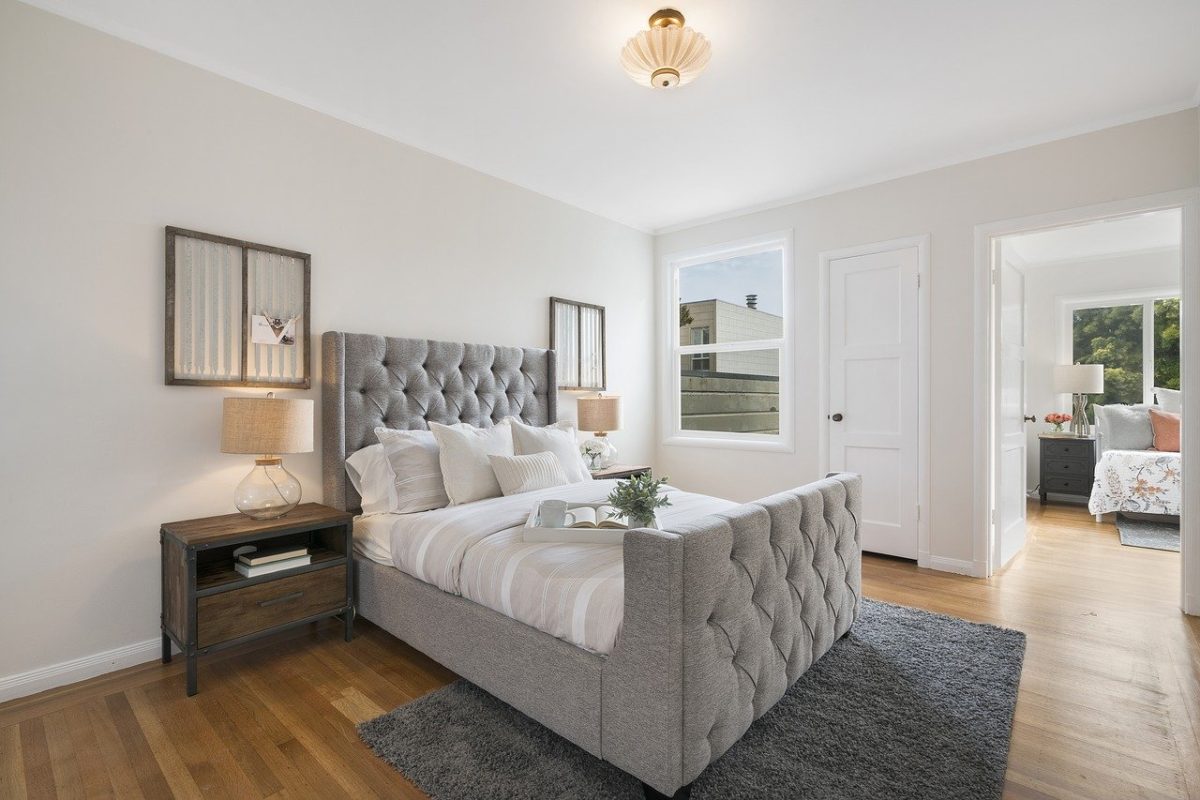
Now to the good stuff. Hotel beds always look (or should look) amazing because they are well-dressed. And a well-dressed bed is all about the layers. Just like you dress yourself by putting on layers of clothing, “dress” your bed the exact same way… in layers!
Step 1- The Mattress Pad
Not only will a mattress pad protect your bed, it will also add a layer of ‘cush’ even if you don’t have the most expensive mattress. As with carpet, a good pad can make even the cheapest mattress feel better and last longer. Make sure it’s tucked in well and nice and taught all around.
Step 2- Fitted Sheet
While you might hate folding them, fitted sheets are the surface that can make or break your sleep experience. If you don’t want to iron them (and who the heck does), try drying them til they’re 95% done. Take them out of the dryer and put them on the bed warm & slightly damp. They’ll dry in time for bed and be wrinkle free. Make sure your sheets are deep enough to fit your mattress and tuck them tightly all around.

Step 3- Flat Sheet
Repeat as with the fitted sheet. Leave enough of the sheet untucked at the foot of the bed that you can fold it over a minimum of 4-6 inches or as much as possible at the top. If your sheets have a pattern or decorative edge, put the fitted sheet on upside down so when you turn back the top, the decorative bits will show!
Step 4- Blankets
Depending on your climate or time of year, this step is optional. But a nice, cozy blanket can come in handy for a little extra warmth on a chilly winter night. Or, it might be all you need during the summer. As with the flat sheet, folding back a portion at the top adds another visible layer for an opulent, inviting bed.
With both blankets and fitted sheets, try your hand at “hospital corners”. Think of wrapping your mattress like you would a present. And if you’re still confused, YouTube it!
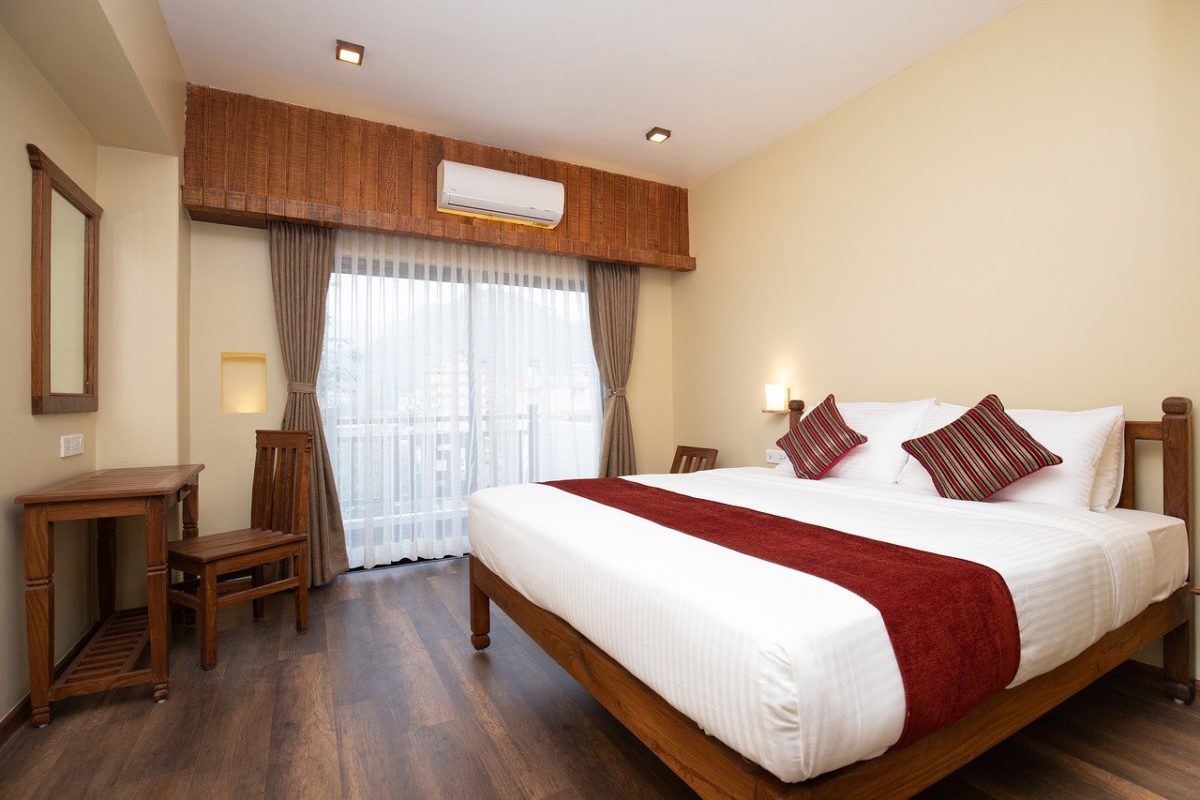
Step 5- Comforter, Duvet or Quilt
Which do you choose? Obviously this is a matter of personal preference & the look you want. Patterned comforters are an all-in-one bedding solution. Some can be a little too “bed-in-a-bag” unless you invest in a nice one. Duvets (aka down comforters) & their covers offer more flexibility, are more easily washed and generally look the nicest. Quilts (patterned or otherwise) are quite trendy especially if you want a crisper, cleaner look to your bed. Sometimes it’s nice to go one size larger for this element. Turned sideways, it will cover more of the sides of the bed and frame.
Any of these options, fresh out of the packaging, is usually a wrinkled mess. Spritz them lightly with water, steam or spray with wrinkle releaser. Worse case scenario, you might have to drag out the iron. Don’t skip this step.
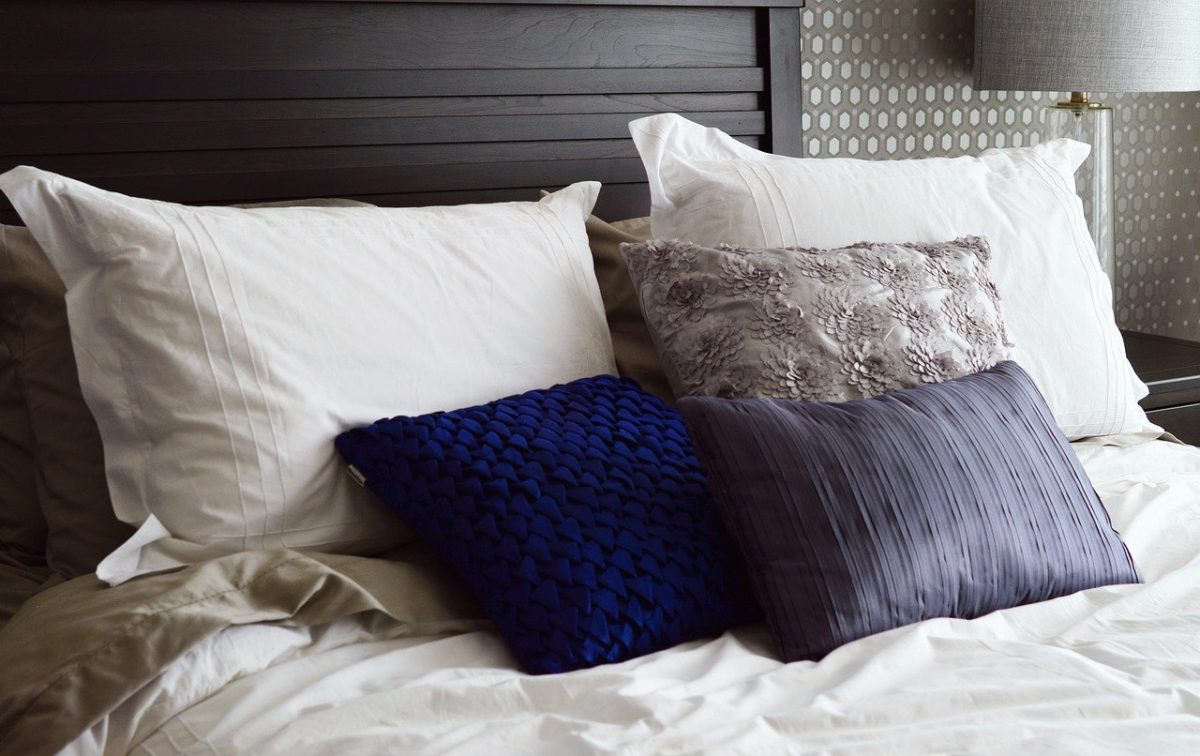
Step 6- Pillows
This is where we lose a lot of people, especially the guys! Who wants to take 100 pillows off and put them back on every day? As in life, moderation is key. Layering pillows on the bed gives it the inviting, cozy and soft feeling you want for your bed. The sheets & bedding are really the time consuming part. Adding the pillows is the icing on the cake and you’re worth a little icing!
Starting against he headboard and working your way toward the foot of the bed, layer pillows in this order:
- Sleeping pillow(s) to fit your bed with shams that match your sheet set
- Euro (large square) pillows (2 for Queen bed/ 3 for King bed) in front to hide “regular” pillows
- Decorative pillows with shams to match your comforter/duvet cover or quilt
(some prefer to reverse layer 2 & 3) - Square pillows (2 for Queen bed/ 3 for King bed)
- Decorative pillows (lumbar, roll or accent pillows)
- Decorative blanket or throw folded in thirds near the foot of the bed
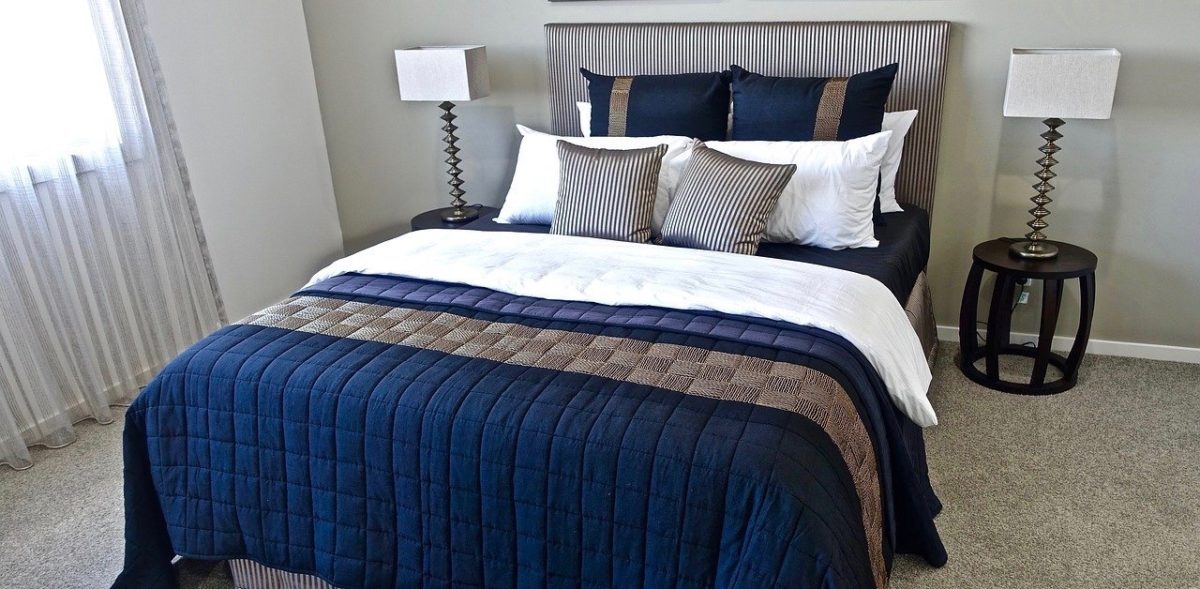
Speaking of “bed-in-a-bag”, you get a much more custom, professional look by mixing and matching your bedding rather than buying a “set”. So, why not try your hand at pulling together everything you need off the shelf rather than in a big plastic bag? Coordinate colors and textures varying between dark and light colors! You might surprise yourself.
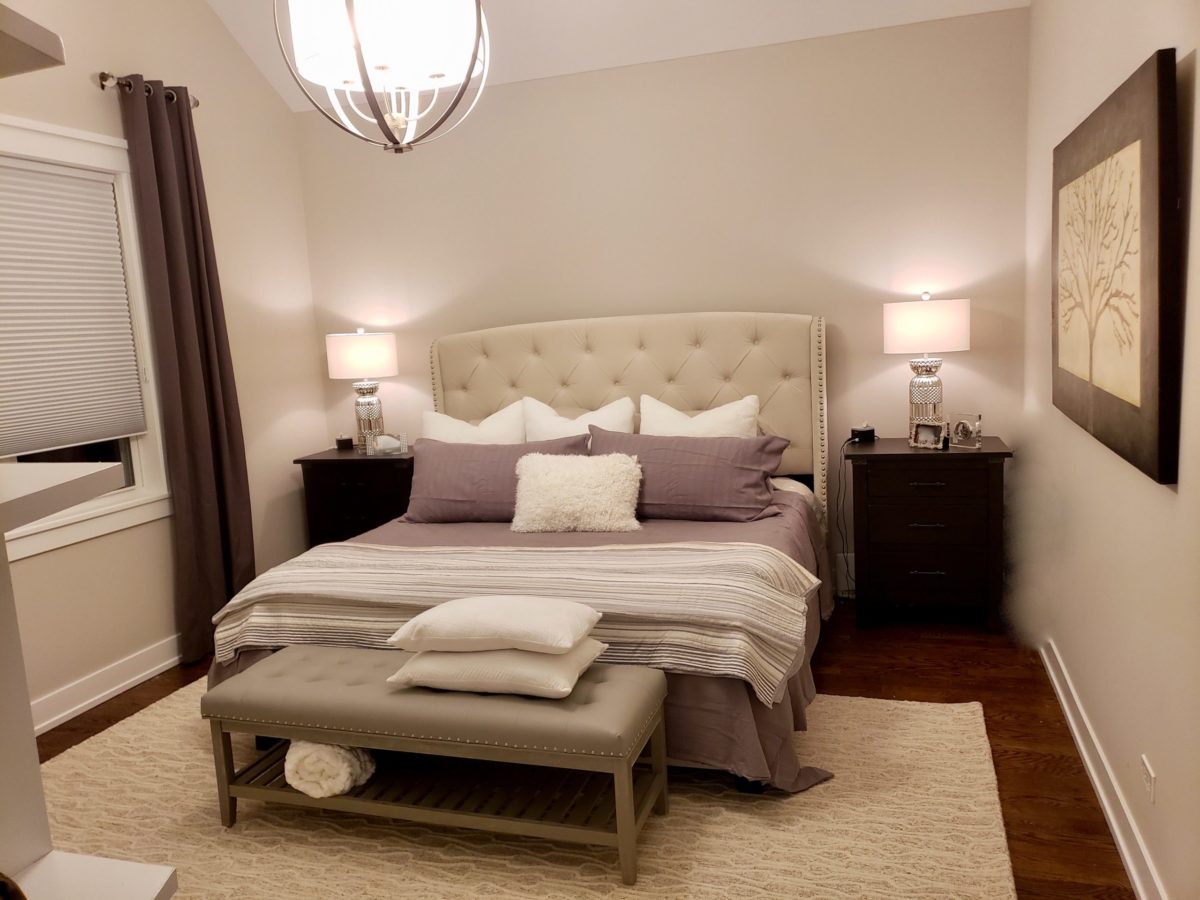
Again, the key to a beautifully made bed isn’t the expense or the number of pillows, it’s the layering and attention to detail. By rolling back the same bedding you already own to create layers at the top rather than just pulling it flat will make a noticeable difference.
There aren’t many; but here are a couple of bed making DON’TS in our book:
Don’t “cock” the pillows on a 45-degree angle. It’s kind of like you standing on your head. It just looks stupid!
Below looks so much better right?
And don’t pull the bedding up over the pillows. What are you doing… covering a corpse? It might’ve been good enough for grandma. But we’re supposed to be evolving. So, why not make our beds like we are and not like we’re trying to hide a murder.
So there you have it… bed making for boneheads! So many things in life are out of our control. Making our beds properly isn’t one of them. The few extra minutes it takes to make your bed properly is just about breaking old habits and creating new ones. And at the end of the day, when you walk in and see your beautiful “hotel” bed calling your name, you’ll remember why you’re worth it! You’re not a bonehead after all!
Here’s to a great night’s sleep and to great bed making from Decor Designs. 815-245-2433


 From Decor Designs Owner & Chief Creative,